PNG mill gear
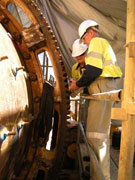
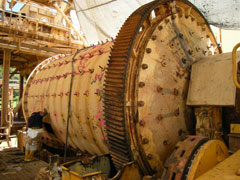
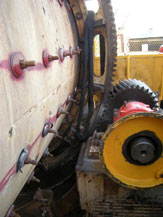
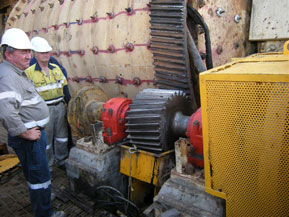
Papua New Guinea: Background pictures of Ball Mill and initial damage
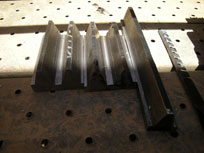
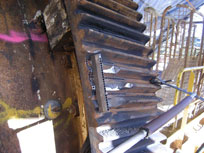
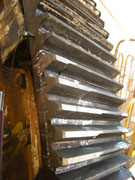
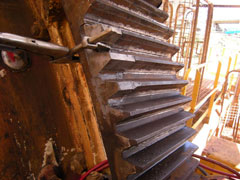
Teeth segments manufactured in Australia ready to install and Metalock into place. Jig set up for line drilling to break out damaged areas whilst awaiting portable milling machine
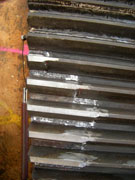
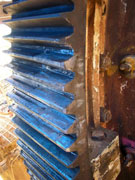
Damaged teeth sections roughly cut out to depth – backing plate for portable mill being set up
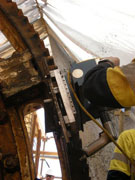
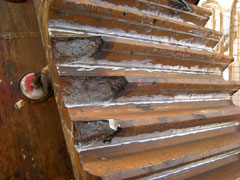
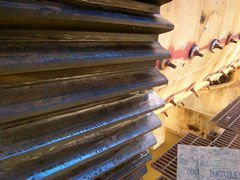
Portable mill set up and rough milling prior to installing teeth segments
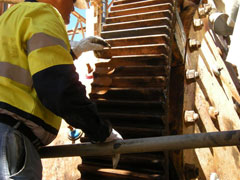
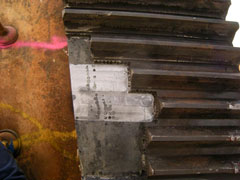
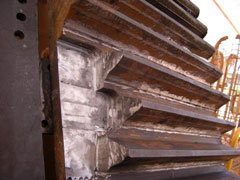
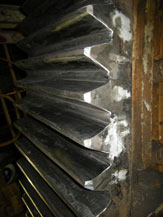
Metalock repairs in progress, other 3 damaged teeth sections removed / milled out.
Section being installed and metalocked into position. Repairs in progress - rough ground.
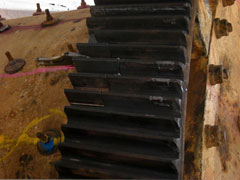
Finalised repairs and pinion setup.
Typical breakdown of steps for repairs metalock installation
- Cut out damaged sections Manufacture new pieces and fit as required
- Mark out location of Metalock Keys and initiate repairs by installing a few screws at both ends to alleviate any possible movement.
- Select / Modify jigs to suit contours
- Set in place keys across join end of Drill, tap for mild steel 8mm studs as fitted along length of joined sections between metalock keys. Reduced drill sizes used to ensure closer tolerance on thread. Sealant used along fracture and to keys was Stag.
- Set in place No 5 metalock keys to desired depth at each key apex. Each lock peened out solid prior to fitting next lock.
- Peen and grind, re-peen repair – check over visually.